Want to improve your waterfall photography? Based on 2 years of getting rained on while on the hunt for the best Pacific Northwest (PNW) waterfalls, here are some tips for taking better photos to keep these special memories alive. Let’s get adventuring!
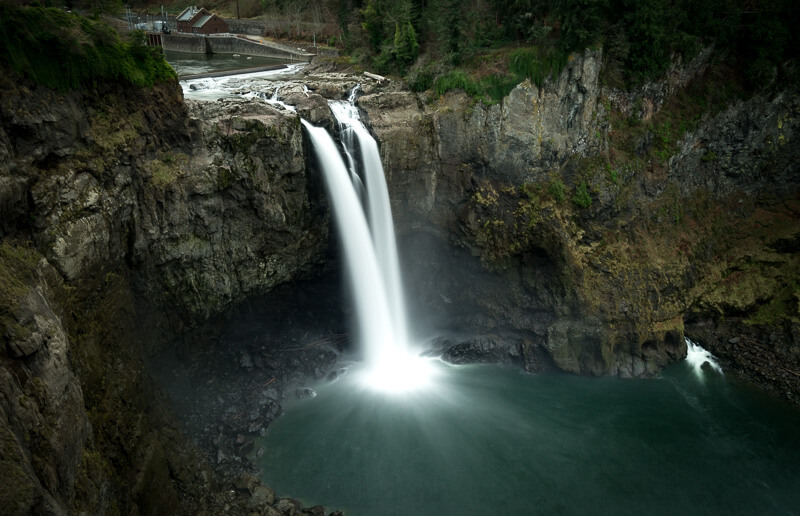
Gear. Some of the gear you’ll need to get started photographing waterfalls include the following:
- Circular polarizer filter
- 3-stop or 6-stop ND filter
- Sturdy (aluminum or carbon fiber) tripod
- Microfiber cloth
- Dry bag for inside backpack
- Rainproof backpack cover
- Remote timer
Photography Tips
Simplify the composition
Remove distracting elements from the composition. Often when photographing waterfalls, there are stray tree branches, mountain peaks, etc. that could be in the same scene as the main subject. I like to isolate the subject and simplify the composition by removing distracting elements.
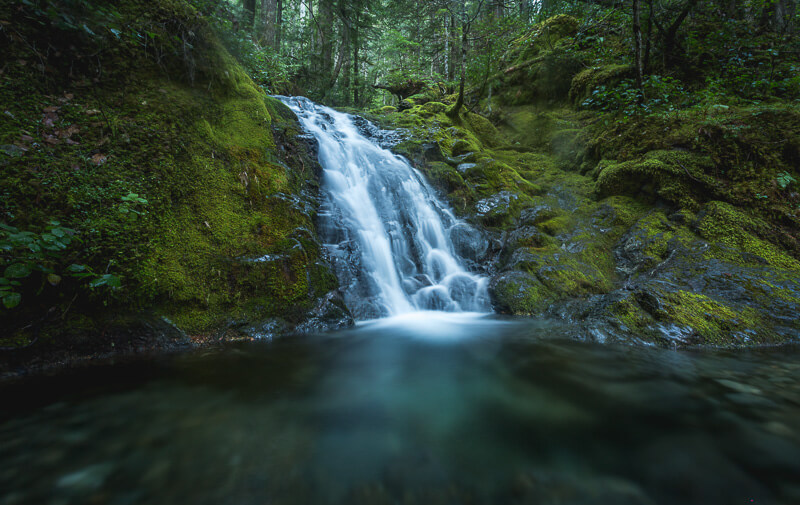
The four-corner test is a key trick I use. Look at all four corners of the image and make sure there is nothing that draws the viewer’s attention away from the main subject. I try to practice the old saying of ‘keep-it-simple-stupid’.
Interesting foreground
Create an interesting foreground by using logs, rocks, reflective pools, etc. Waterfalls that you can safely get close to the base can be photographed with the pool and rock details. By composing with a substantial foreground of crystal clear water and detailed water/branches, you can add interest to your compositions.
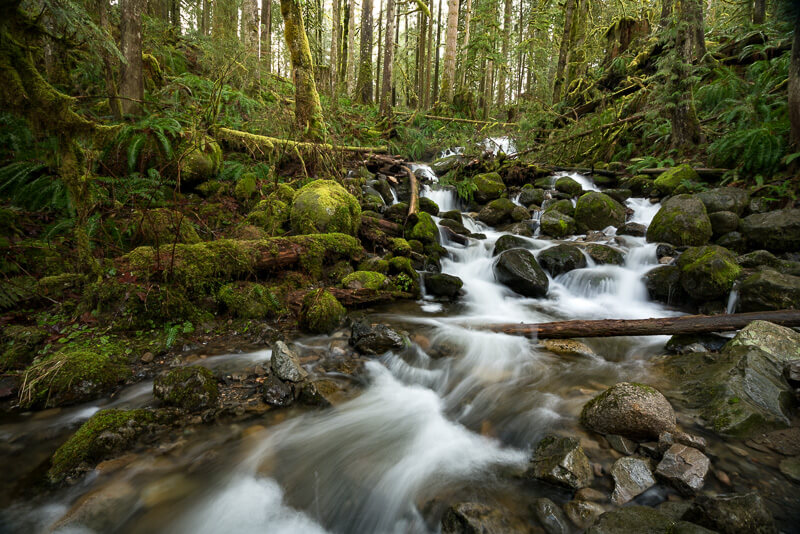
In this scene from Wallace Falls State Park, Washington, the trail leads you right to a small waterfall with plenty of rocks and logs for the foreground.
I experiment with getting the camera as close to the water surface as possible on a tripod, you can capture the clarity of the water and lead the viewer to the falls above in the scene.
Fill the frame
Zoom in to fill the frame with your subject. If you can not safely get to the base of the waterfall, or would rather not get soaked, then filling the frame is a good option.
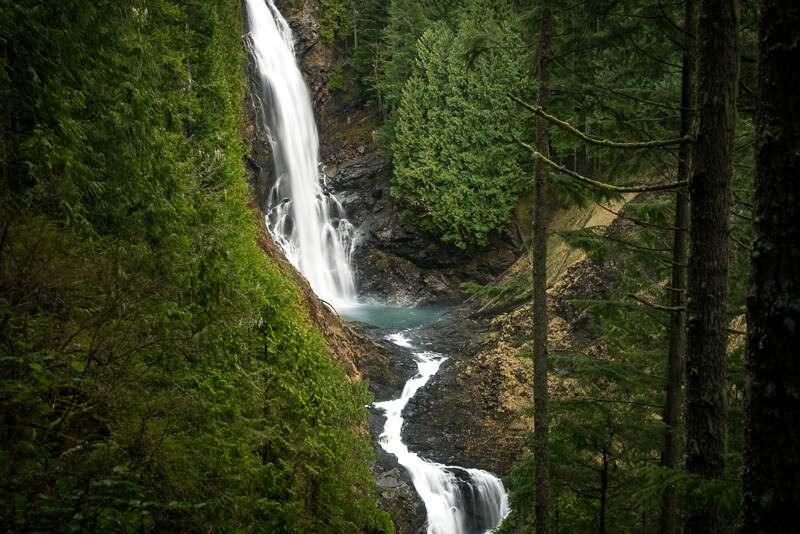
Draw the viewer into the wide-angle scene with a feeling of movement throughout the scene.
Use a neutral density filter
The purpose of ND filters is to block light without a color cast. To achieve blurred water, motion has to be slowed. That’s where ND filters come to the rescue. They allow you to increase the exposure time. Waterfall photography typically uses a 3-stop or 6-stop ND filter, depending on the brightness of the scene and exposure length desired. I find the 6-stop filter to be perfect in dimly lit, overcast conditions.
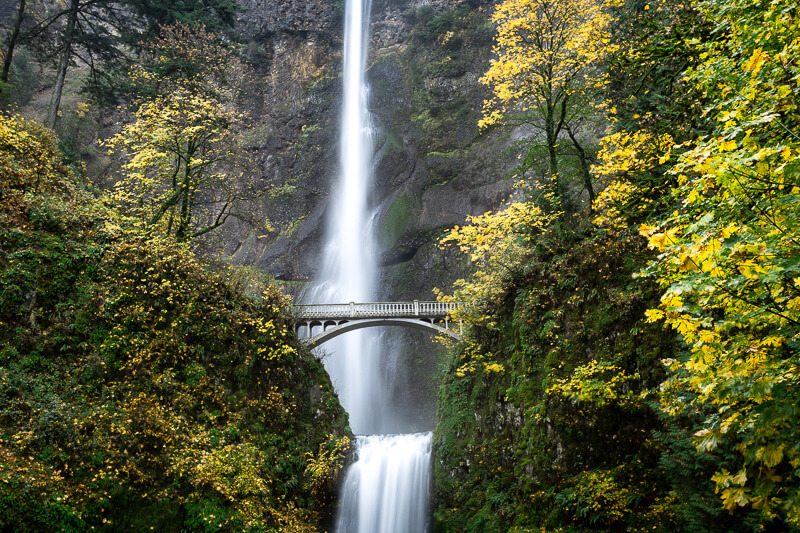
ND filters can either be threaded to the front of the lens (e.g. circular 72mm or 77mm) or rectangular with a filter holder system (e.g., Lee or Cokin). I personally use ND filters primarily on one wide angle lens so use circular threaded filters.
From a low perspective
Capture the waterfall from a low angle, as close to the water as possible. With rivers and small waterfalls, a low perspective often makes the scene come alive with energy.
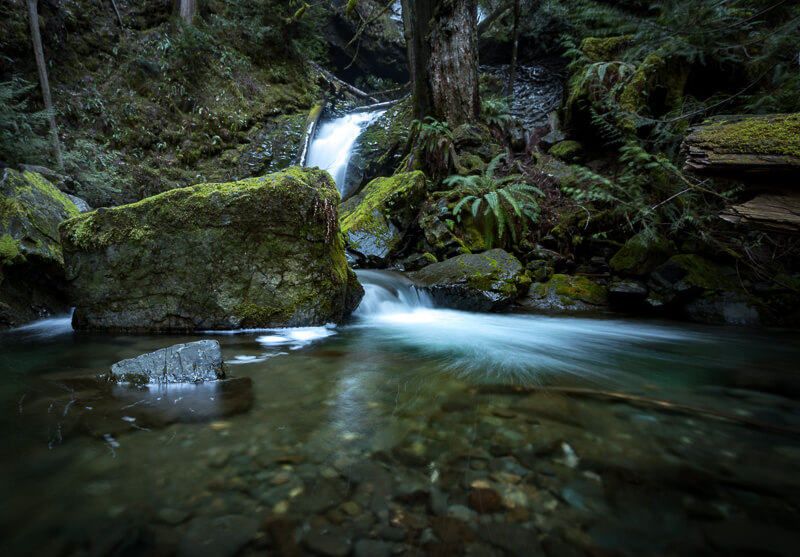
With the tripod in the water and the camera a few inches above the water, the river’s movement draws the viewer across the scene. Be careful to secure your camera and hold on to the camera strap.
Use a circular polarizer filter
If there is one filter that must be in your waterfall photography kit, I’d recommend it be a circular polarizer. Just like polarized sunglasses, but for your camera, these filters reduce glare, increase color vibrancy in the scene, and block light. The 1 to 2-stops of light they block often allows for long exposures in dimly lit settings.
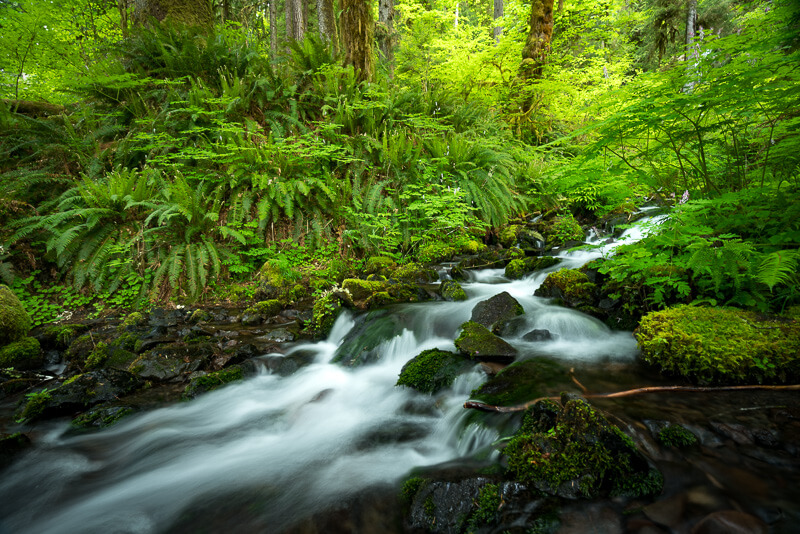
These can either be circular (72mm, 77mm, etc.) dependent on the lens or a square polarizer filter (Lee or Cokin filter system). Invest in a high-quality filter because you’ll use it often and don’t want to be putting junk glass on your lens that is over $500. My circular polarizer was a 72mm Firecrest Filter from the UK, until it had a tragic feel in a deep alpine lake this summer..Will be replaced. This handcrafted filter is around $100 and keeps outstanding image quality, colors, and built-to-last. Tiffen filters are more affordable and excellent as well, and typically found for $20-25 at Amazon or B&H Photo.
Focus on textures
Focusing on textures such as rocks and moss often can add interest to the scene in a seemingly average scene.
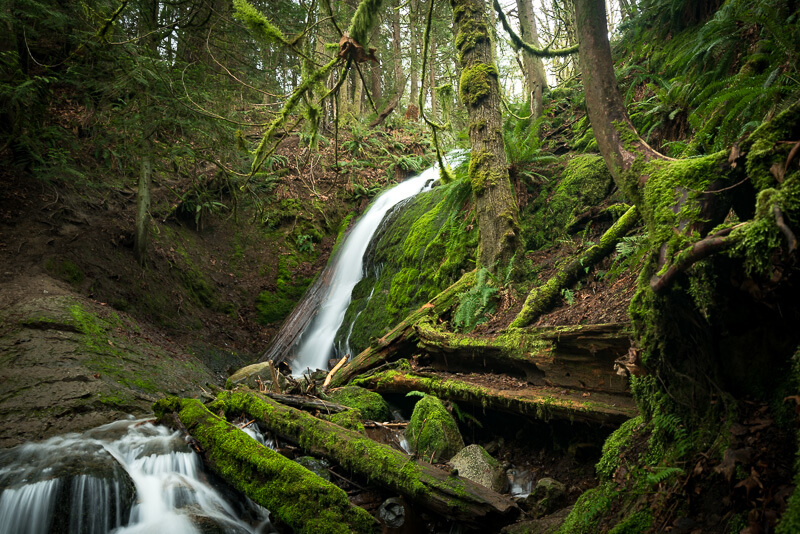
I love ON1 Photo Raw’s dynamic contrast filter, which helps to naturally bring out the textures of the scene.
Provide a sense of scale
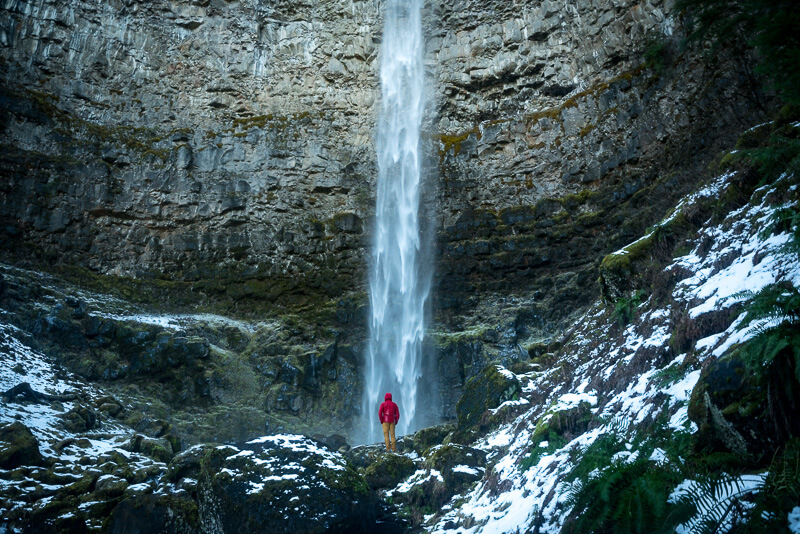
I am often guilty of shooting landscapes only, without including a person in the scene. But sometimes I love to show the scale of the landscape, and that is where having a person stand in front of the waterfall really helps the photo.
Favorite Waterfalls in the PNW
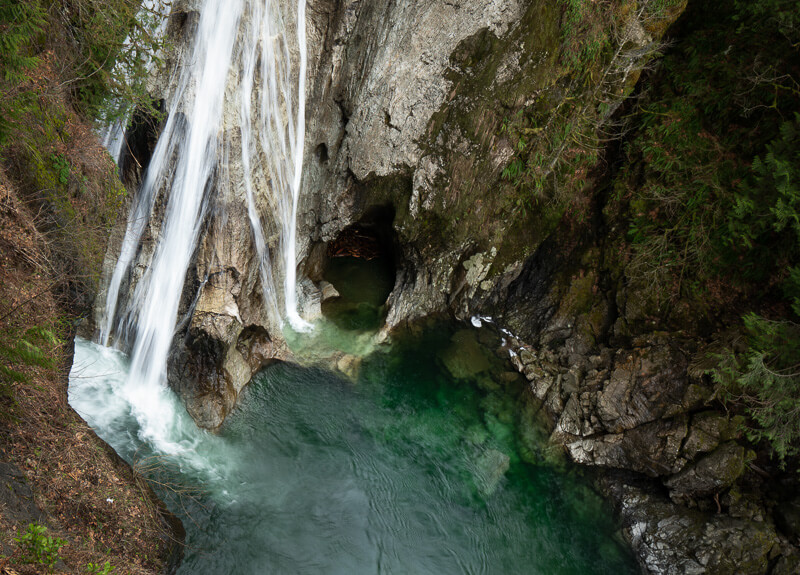
My personal favorites, so far, include Wallace Falls, Franklin Falls, Murhut Falls, Brandywine Falls, Boulder River Trail, Twin Falls, and Falls Creek Falls in southern Washington (Columbia River Gorge).
Post Processing Software
Photo editing software I use to bring waterfall photos to life include Adobe CC Lightroom, Adobe CC Photoshop, and ON1 Photo RAW. I edit on a MacBook Pro M1. I keep my software limited and focus on maximizing these three applications.

